
Photo by Juanjo Jaramillo on Unsplash
A beginner's guide on implementing CRUD operations with React and Firebase
Firebase is a cloud-based development platform that offers a range of backend services. It can easily power up web, mobile, and unity-based applications. Google over the years, has developed firebase to offer a fast and easy way to set up a real-time synchronized back-end service. At its core is a NoSQL cloud database that utilizes a document model to store data in real time.
In this article, we will build a React application that implements CRUD operations to store and read data from a firebase database.
Prerequisites
An active firebase account.
A good understanding of ReactJs.
Creating an application on the Firebase developer console.
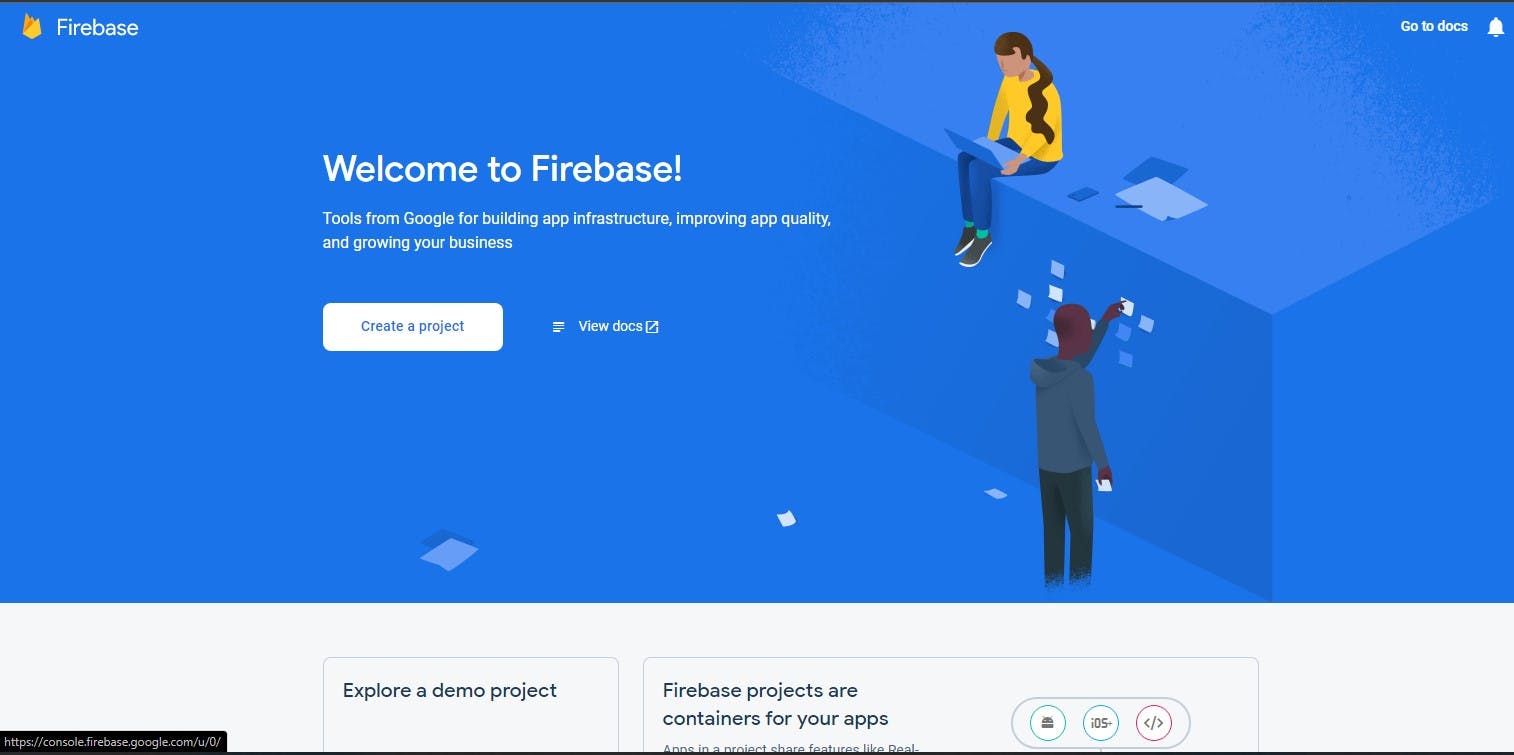
Sign up for a Firebase developer account. Navigate to the dashboard and create a new project.
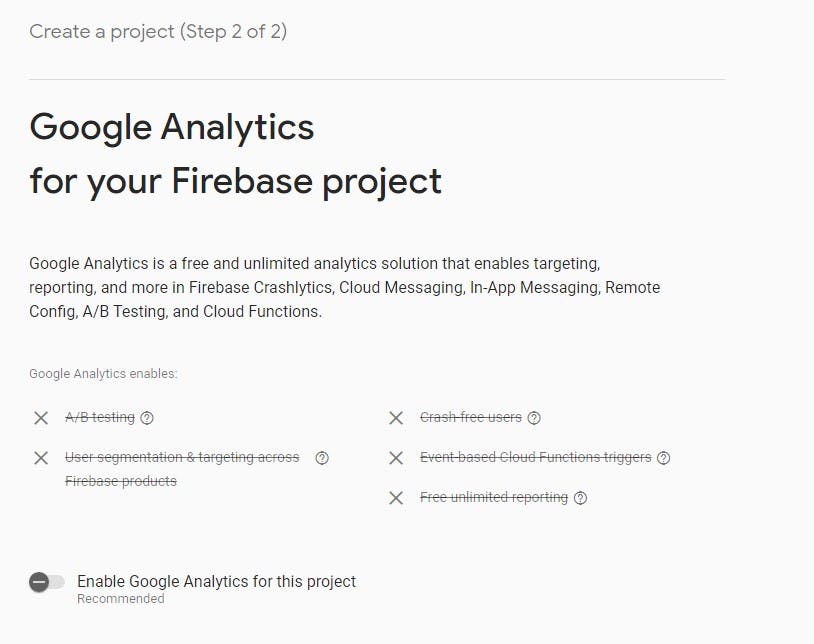
Provide the name of your project. You can optionally choose to enable Google analytics for your project, especially if you are building a commercial project.
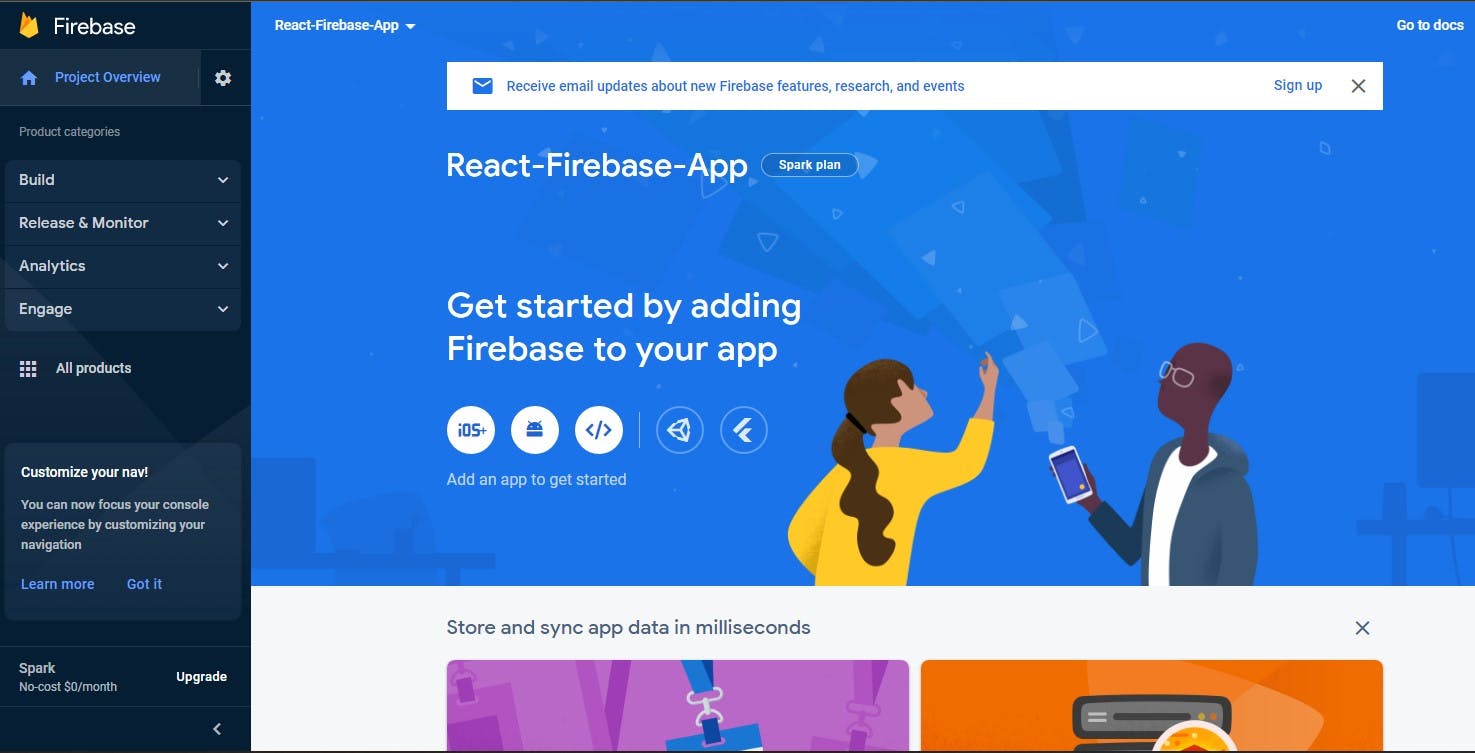
 Once your project has been created, navigate to the project dashboard.
Register Your React Application
Firebase provides a NoSQL database called Firestore. To read and write data from your React application to the database, you will need to register your app and configure a connection between the application and firebase.
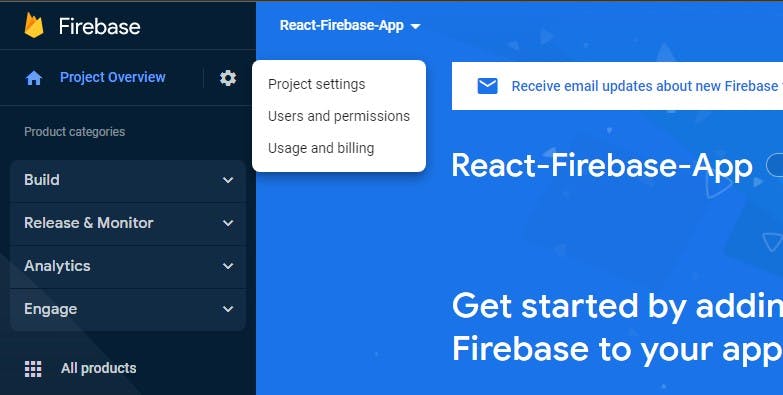
In your project dashboard, click on the settings icon on the top-left corner of the page and select project settings.
On the settings page, click on the web button to register your application.
 Follow the setup prompt to register your React app.
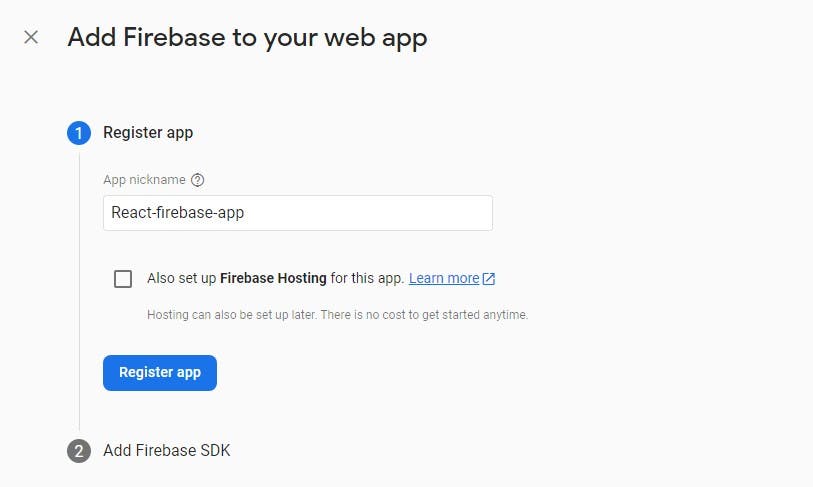 Once your app is registered, Firebase will provide you with your project's environment variables.
Configure Firebase in Your React Application.
Create a React application on your local machine. Run this command to install react locally:
npx create-react-app your-app-name
After, creating your react app, open the folder in your IDE and install the Firebase package in your project folder. Run this command to install it.
npm install firebase
Next, in your src folder, create a new JavaScript file and name it firebase-config. Copy the environment variables in your firebase project dashboard and paste them into this file.
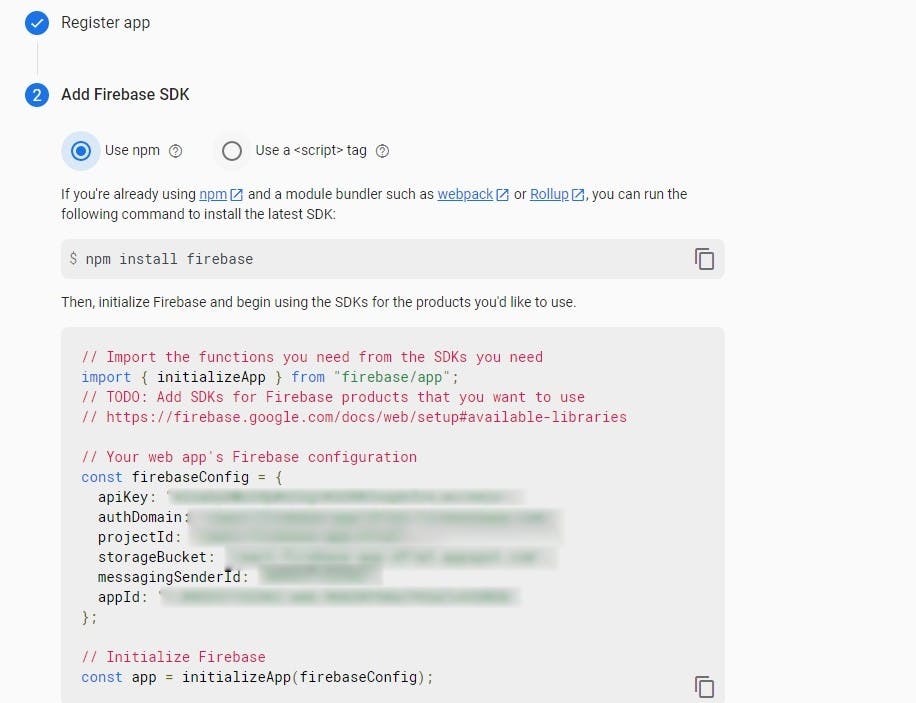
The code file:
import { initializeApp } from "firebase/app";


const firebaseConfig = {
  apiKey: "API_KEY",
  authDomain: " authDomain",
  projectId: "project ID",
  storageBucket: "storage Bucket,
  messagingSenderId: "messanging sender ID",
  appId: "App ID"
};

// Initialize Firebase
const app = initializeApp(firebaseConfig);
Setup a Firestore Database
Log into your Firebase account, in your project dashboard, and click on create database button to set up your Firestore.
 Define the database mode and location.
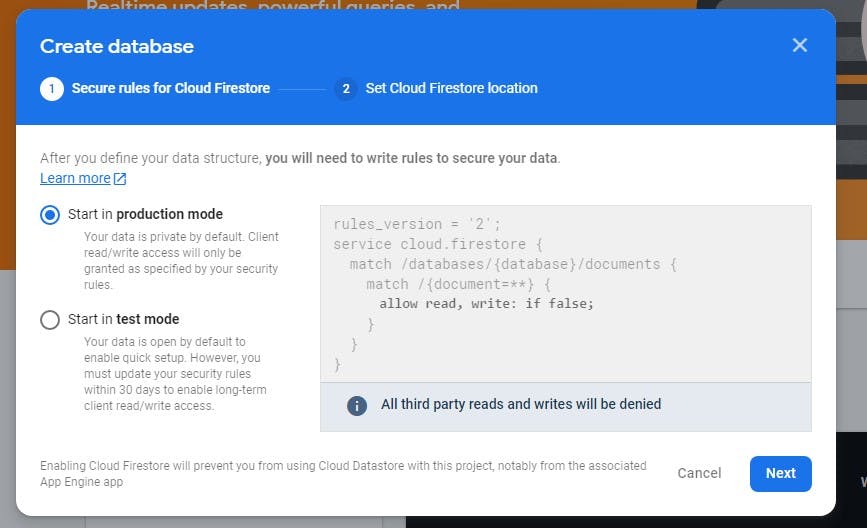 For this tutorial, I will set up the database in production mode, the default mode. This mode keeps the data private by default, and access to it is determined by the security rules. Set the location close to your region.
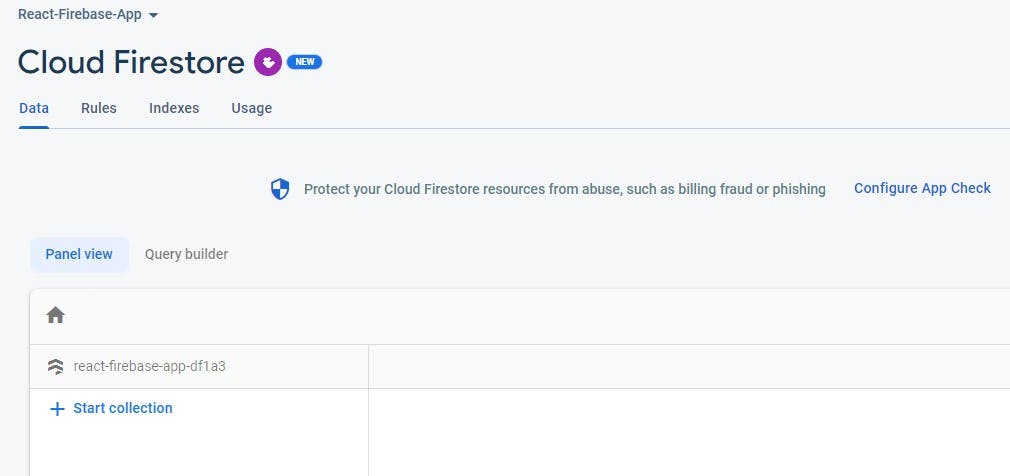
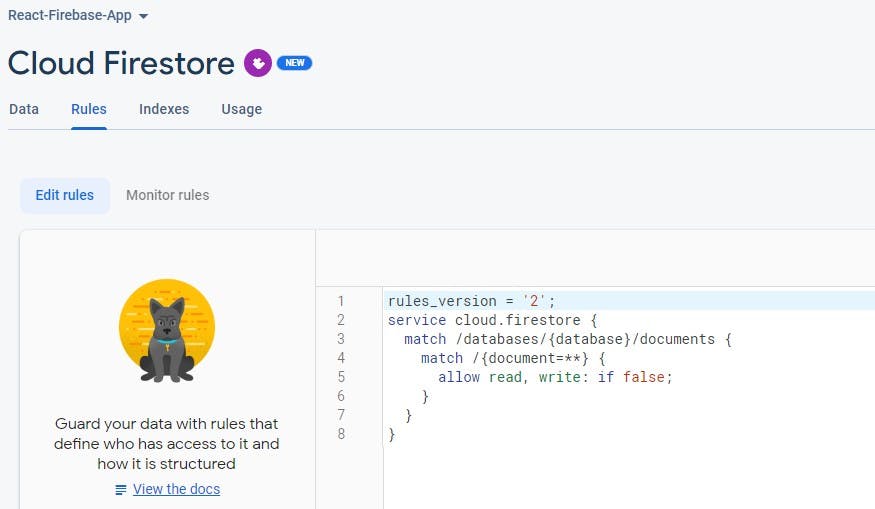
Lastly, we will configure the database rules to allow read-and-write operations from the React application.
Click on the rules tab and change the allow the read-and-write rule to true.
Create a Demo Firestore Collection
Firestore Database is a NoSQL database. It has its own specific way in which data tables and records are created and stored.
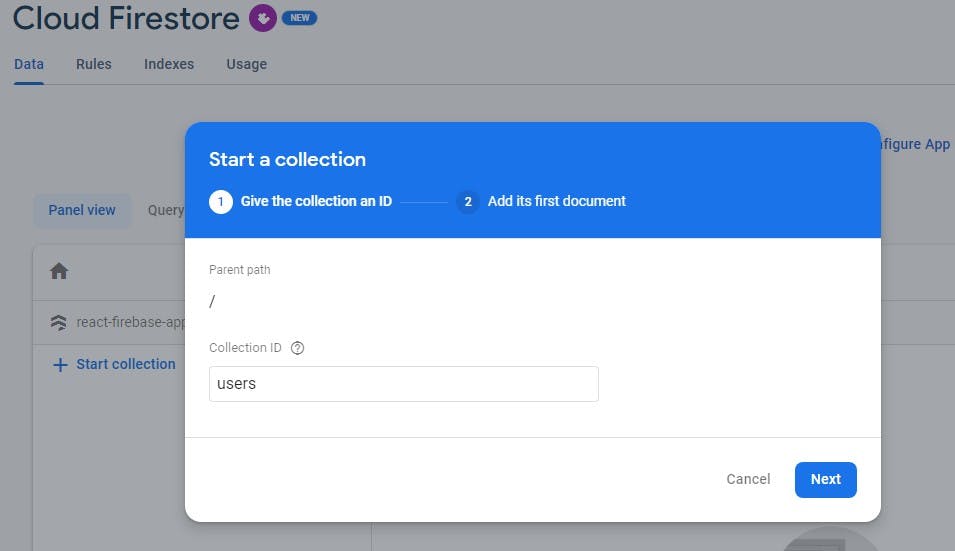
SQL databases use tables to store related records. Firestore on the other hand uses collections. In addition, Firestore uses documents as records to store related data items. To create a new collection, click on the start collection button, and provide a collection ID, this is similar to a table name.
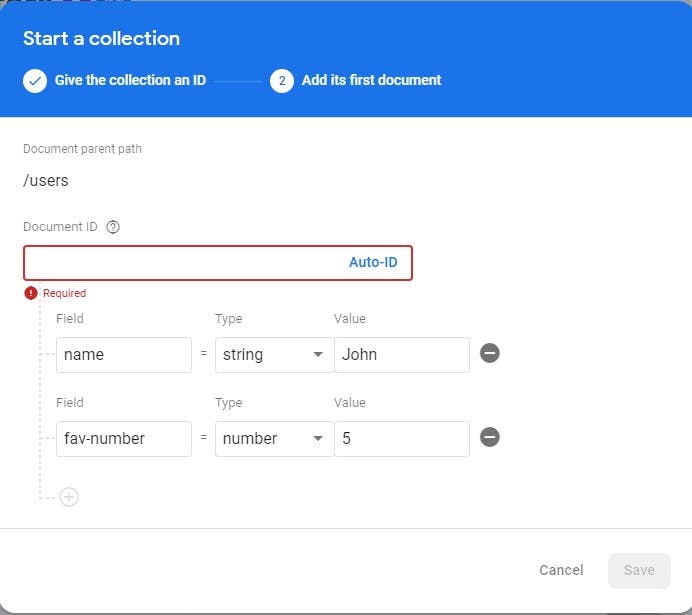
 Next, create a document. Provide the document ID. Alternatively, you can choose to auto-generate it, this makes your work much easier. Add other fields and provide some sample data.
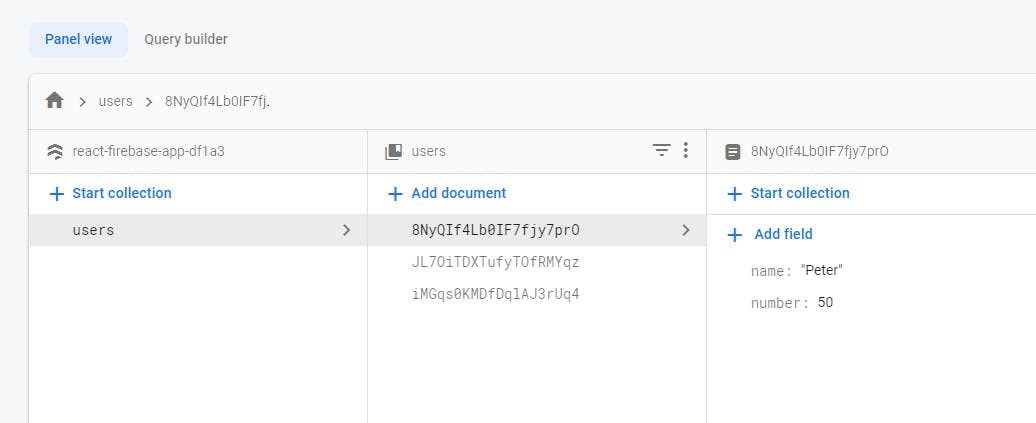
 After, you are done it should look like this.
Configure the Firestore in the React Application
We have already established a connection between the React app and Firebase, however, we also need to configure the Firestore in the React app since we need to read and write data. In the Firebase-config.js file, add the following lines of code:
import {getFirestore}  from '@firebase/firestore';

export const db = getFirestore(app);
Crud Operations
Firestore library provides a number of functions that make it easy to perform CRUD operations. These are:
getDocs: Reads the documents stored in your database collection on Firestore.
addDoc: Creates a document and stores the data passed.
updateDoc: Makes the changes specified to the data stored.
deleteDoc: Deletes the data specified in the Firestore.
Now let's implement the CRUD operations.
Read Firestore Data
To read the data stored in the Firestore database and display it in the React application's UI, we will use the useEffect react hook to wrap the getDocs in an async function. This function returns a promise with your data.
In the App.js file add the following lines of code:
- Make the following imports:
import { useState, useEffect } from 'react';
import {db} from './firebase-config';
import { collection, getDocs,addDoc,updateDoc, doc,deleteDoc } from "firebase/firestore";
- In the App functional component:
const [users, setUsers] = useState([]);
const usersCollectionRef = collection(db, "users");


//Read firestore data
  useEffect(() => {
    const getUsers = async () => {
      const data = await getDocs(usersCollectionRef);
      setUsers(data.docs.map((doc) => ({ ...doc.data(), id: doc.id })));
    }
    getUsers();

}, []);
The getDocs function takes in a single argument. A reference/pointer to the collection in which your data is stored in Firestore.
To create the reference, we will create a variable called UsersCollectionRef and assign it to the collection function from Firestore. This function allows you to specify the particular database and collection that your data is stored. The setUsers function creates a new array with your data and the document ID.
  {users.map((user) => {
          return (
            <div>
            {""}
            <h2> Name: {user.name}</h2>
            <p> Favourite-number: {user.number}</p>
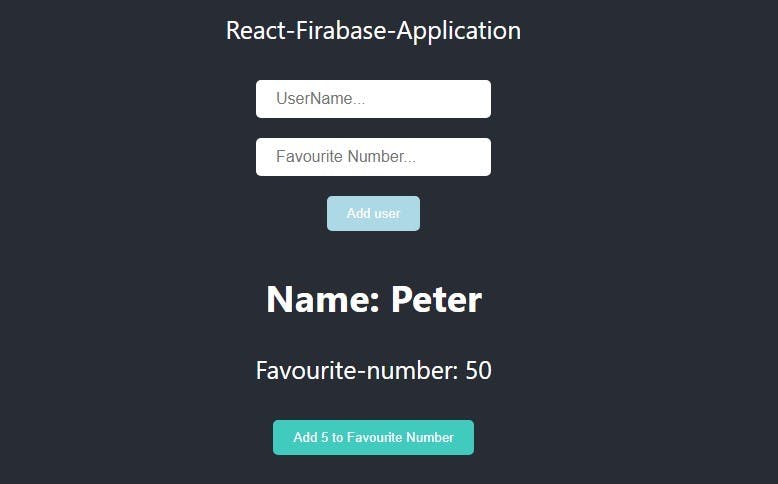
We will use the map function to loop through the new array and access the specific user details and return them to be rendered.
Create/add Data to Firestore
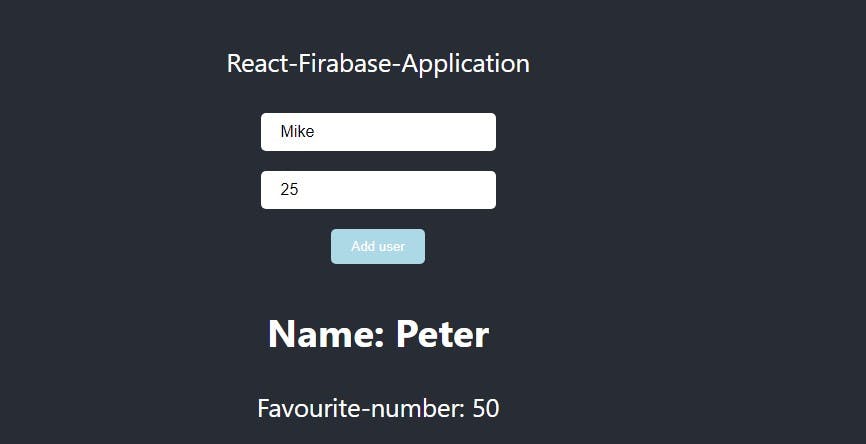
To add data to the Firestore, we will create a function that gets called when the onClick function gets triggered when a user clicks a button to submit data from input fields.
  const [newName, SetNewUser] = useState("");
  const [newNumber, SetNewNumber] = useState(0);

//Create/write Data to the Firestore
const addUser = async () => {
 await addDoc (usersCollectionRef, {
    name: newName,
//convert the number input from a string to a number
    number: Number(newNumber)
  });
}
Create states to track the value of the inputs from the user. For this case, newName and newNumber.
We will use the addDoc function to add the new name and number from the input fields. AddDoc function takes in two arguments: the collection reference and an object containing the values you want to add to the Firestore database.
 return (

      <input placeholder='UserName...' onChange={(event) =>{SetNewUser(event.target.value)}} />

      <input placeholder='Favourite Number...' onChange={(event) =>{SetNewNumber(event.target.value)}}/>

      <button  onClick={addUser} > Add user</button>
The input fields have setNewUser function that gets triggered when a user inputs data and passes the values from the inputs to the states.
The data on Firestore.

Update Data on Firestore
The updateDoc function takes in two inputs: the document ID in the collection you want to change and the new data changes you want to make. For this case, I am adding 5 to the value of the number field.
//update data
const updateUser = async (id, number ) => {
  const userDoc = doc(db, "users", id);
  const newData = { number: number + 5};

  await updateDoc(userDoc, newData);
  };
You can create a button to be rendered that calls the updateUser function passing in the user ID and the data to update when its clicked.
<button onClick={ () => {updateUser(user.id, user.number)}}>Add 5 to Favourite Number</button>
Delete Data on Firestore
The deleteDoc function takes one argument, the specific document ID you want to delete.
//delete data
const deleteUser = async (id) => {
  const userDoc = doc(db, "users", id);
  await deleteDoc(userDoc);
  };
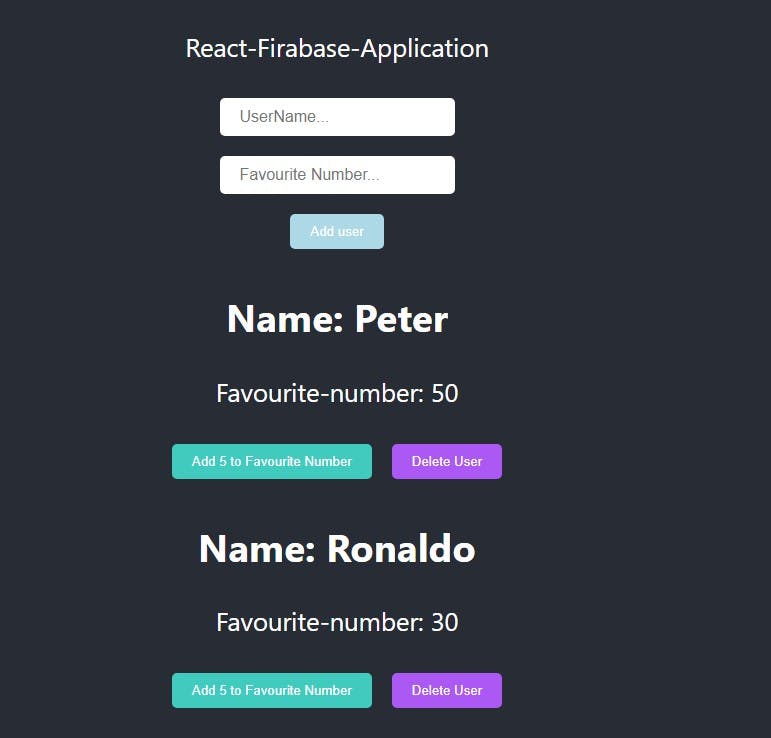
The final application with all the CRUD operations. Feel free to design your application to suit your preference.
Conclusion
This tutorial has only scratched the surface of the endless functionalities Firebase can provide for your web or mobile application.
In addition, you can easily integrate Firebase in whichever platform(web or mobile) you are building on allowing you to build and scale with ease.
