


Introduction
I am a big fan of google and its products. The world as we see it today has been largely shaped by the many amazing solutions google has designed, developed, and shipped. One of my personal favorites is google Keep App
I usually prefer to jot down my to-do's however, google keep has made it so undeniably hard for me to avoid its amazing note-taking features.
In this article, we are going to build a minified version of the App using ReactJS.
Let's get started...
Prerequisites
React -version 18.
Latest versions of NPM and node.
Installing node and NPM
React requires a number of dependencies in order to set up an app development server. You need to install the latest versions of node.
You can obtain node's latest version from the official website. To install NPM's latest version, run this command:
npm install -g npm
Setting up a react development environment.
Setting up a new react app development environment involves creating a react app and installing the required dependencies. To do this run the following command.
Note: It might take a few minutes to download all the 140MB react dependencies.
npx
npx create-react-app MiniGoogleKeeperApp
yarn
yarn create-react-app MiniGoogleKeeperApp
create-react-app is a comfortable build environment supported by react for creating single-page react apps. It setups the development and optimizes your app for production. However, there are other ways to build react apps such as using vite - frontend tool. I found a useful article on this topic.
After creating the react app, run this command to change the directory, open the react app's folder and start the development server.
cd MinigoogleKeeperApp && npm start
Running this command, you should see this message on your terminal.
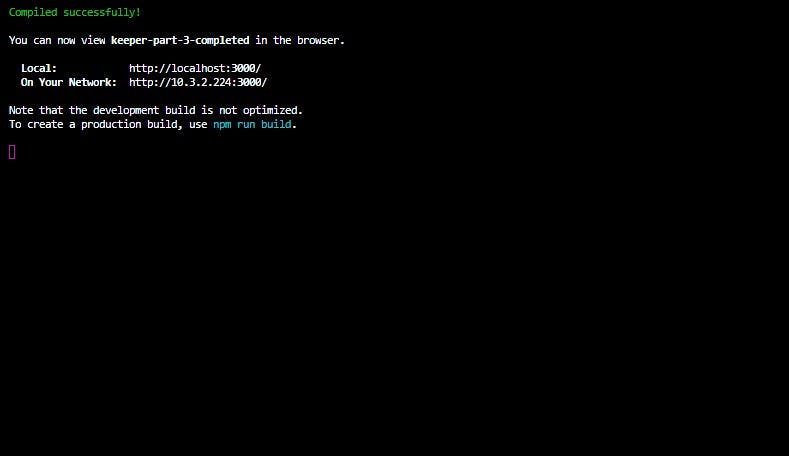
You can view the default app template installed on the browser on localhost:3000.

Let's start building
While building this app, we are going to cover some essential react concepts required in building a production-ready app.
Follow along...
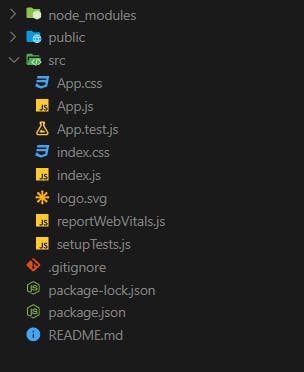
Open the react app folder on your IDE. Initially, the default folder structure looks like this 👇, however, we are going to delete everything and build afresh.
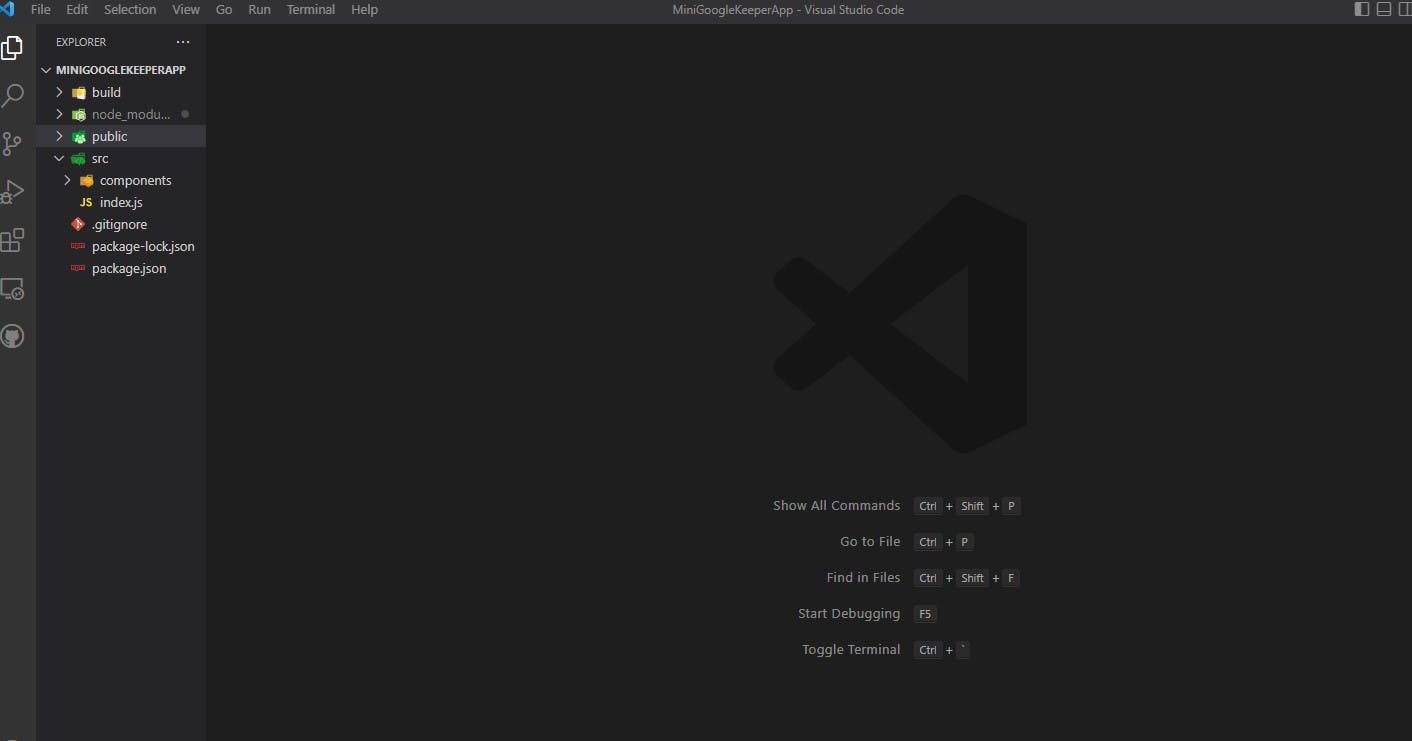
Delete all files from the src folder except for the index.js file. Then create a new folder and name it components. Our new app folder structure should look like this.👇
The public folder has two default files created: the index.html file and the styles.css file. Open the two files and delete the code present and add the following code for our MiniGoogleKeeperApp.
HTML FILE code
<!DOCTYPE html>
<html lang="en">
  <head>
    <title>Keeper App</title>
    <link rel="stylesheet" href="styles.css" />

</head>

  <body>
    <div id="root"></div>
    <script src="../src/index.js" type="text/jsx"></script>
  </body>
</html>
The following code has a div with an id of root. This is the default HTML file code structure provided by react. React bundles all the styles and functionality code for your app and then render it on the div with id root.
The CSS file
* {
  padding: 0;
  margin: 0;
  box-sizing: border-box;
}
html {
  font-family: "Montserrat", sans-serif;
}
body {
  background: #eee;
  padding: 0 16px;
}

header {
  background-color: #f5ba13;
  margin: auto -16px;
  padding: 16px 32px;
  box-shadow: 0 0 10px 0 rgba(0, 0, 0, 0.3);
}

header h1 {
  color: #fff;
  font-family: "McLaren", cursive;
  font-weight: 200;
}

footer {
  position: absolute;
  text-align: center;
  bottom: 0;
  width: 100%;
  height: 2.5rem;
}

footer p {
  color: #ccc;
}
.note {
  background: #fff;
  border-radius: 7px;
  box-shadow: 0 2px 5px #ccc;
  padding: 10px;
  width: 240px;
  margin: 16px;
  float: left;
}
.note h1 {
  font-size: 1.1em;
  margin-bottom: 6px;
}
.note p {
  font-size: 1.1em;
  margin-bottom: 10px;
  white-space: pre-wrap;
  word-wrap: break-word;
}

.note button {
  position: relative;
  float: right;
  margin-right: 10px;
  color: #f5ba13;
  border: none;
  width: 36px;
  height: 36px;
  cursor: pointer;
  outline: none;
}

form {
  position: relative;
  width: 480px;
  margin: 30px auto 20px auto;
  background: #fff;
  padding: 15px;
  border-radius: 7px;
  box-shadow: 0 1px 5px rgb(138, 137, 137);
}
form input,
form textarea {
  width: 100%;
  border: none;
  padding: 4px;
  outline: none;
  font-size: 1.2em;
  font-family: inherit;
  resize: none;
}
form button {
  position: absolute;
  right: 18px;
  bottom: -18px;
  background: #f5ba13;
  color: #fff;
  border: none;
  border-radius: 50%;
  width: 36px;
  height: 36px;
  box-shadow: 0 1px 3px rgba(0, 0, 0, 0.3);
  cursor: pointer;
  outline: none;
}
We are going to use vanilla CSS for a project however feel free to be a little bit creative by using CSS frameworks.
React components.
Components are independent and reusable bits of code. There are the building blocks of react apps. There play the same role as javascript functions however they are isolated and they return HTML code which is then rendered on the div with id root.
There are two types of react components. They are:
Class functional components
Functional components.
The two have striking differences however we are not going to dive deeper into that. For this tutorial we are going to focus on building functional components for a mini googleKeeper App.
React's specifies that we have a default root component that bundles all other components to be rendered.
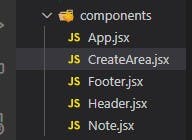
Create these files and save them in the components folder:
App.js
CreateArea.js
Header.js
Note.js
Footer.js
We have divided the mini google keep App into 5 major sections which will serve as our components. Your components should look like these:
 You can note that I have saved my files with a .jsx extension. Don't worry whichever extension you choose will work fine.
JSX stands for JavaScript XML. JSX allows us to put HTML into JavaScript. It is simply a syntax extension of React. It allows us to directly write HTML in React.
Our App.js component file represents our root folder which bundles up all the other components and serves them to the index.js file to be rendered.
App.js file Structure.
Write the following code on the app.js file.
import React, { useState } from "react";
import Header from "./Header";
import Footer from "./Footer";
import Note from "./Note";
import CreateArea from "./CreateArea";

function App() {
  const [notes, setNotes] = useState([]);

  function addNote(newNote) {
    setNotes(prevNotes => {
      return [...prevNotes, newNote];
    });
  }

  function deleteNote(id) {
    setNotes(prevNotes => {
      return prevNotes.filter((noteItem, index) => {
        return index !== id;
      });
    });
  }

  return (
    <div>
      <Header />
      <CreateArea onAdd={addNote} />
      {notes.map((noteItem, index) => {
        return (
          <Note
            key={index}
            id={index}
            title={noteItem.title}
            content={noteItem.content}
            onDelete={deleteNote}
          />
        );
      })}
      <Footer />
    </div>
  );
}

export default App;
What have we done on the code above:
- We first import the necessary module from react to use in the file.
import React, { useState } from "react";
- We then import all the other components into a root App component.
import Header from "./Header";
import Footer from "./Footer";
import Note from "./Note";
import CreateArea from "./CreateArea";
- We created a functional component - App.
Our functional App component carries most of the logic for a google keep App. Let's destructure each section.
We initially start by declaring a component App. The component wraps two major features for our mini google Keep App: Add note Feature and Delete note Feature.
To implement these two features, we use React's state management functionality to track the state of our note component by creating a const variable that tracks changes in the states of note component.
function App() {
  const [notes, setNotes] = useState([]);

  function addNote(newNote) {
    setNotes(prevNotes => {
      return [...prevNotes, newNote];
    });
  }

  function deleteNote(id) {
    setNotes(prevNotes => {
      return prevNotes.filter((noteItem, index) => {
        return index !== id;
      });
    });
  }
The App component then returns the other components. In addition, it maps the notes typed on the note component using the array. map function on the creatArea note component. The delete button passes the id, title, and content as props, and they are deleted from the notes array once the button is clicked.
 return (
    <div>
      <Header />
      <CreateArea onAdd={addNote} />
      {notes.map((noteItem, index) => {
        return (
          <Note
            key={index}
            id={index}
            title={noteItem.title}
            content={noteItem.content}
            onDelete={deleteNote}
          />
        );
      })}
      <Footer />
    </div>
CreateArea component structure.
The createArea component defines the logic in which a user adds bits of notes to the text area of the app. CreateArea component takes in props passed from the note component as inputs. The inputs are values obtained from the react form. See the code below:
import React, { useState } from "react";

function CreateArea(props) {
  const [note, setNote] = useState({
    title: "",
    content: ""
  });

  function handleChange(event) {
    const { name, value } = event.target;

    setNote(prevNote => {
      return {
        ...prevNote,
        [name]: value
      };
    });
  }

  function submitNote(event) {
    props.onAdd(note);
    setNote({
      title: "",
      content: ""
    });
    event.preventDefault();
  }

  return (
    <div>
      <form>
        <input
          name="title"
          onChange={handleChange}
          value={note.title}
          placeholder="Title"
        />
        <textarea
          name="content"
          onChange={handleChange}
          value={note.content}
          placeholder="Take a note..."
          rows="3"
        />
        <button onClick={submitNote}>Add</button>
      </form>
    </div>
  );
}

export default CreateArea;
Header and footer components file structure.
Header and footer components define the overall style and design of our note app. Header component code.
import React from "react";

function Header() {
  return (
    <header>
      <h1>Keeper</h1>
    </header>
  );
}

export default Header;
Note component file structure
The note component defines the logic behind how an added note is displayed and deleted.
import React from "react";

function Note(props) {
  function handleClick() {
    props.onDelete(props.id);
  }

  return (
    <div className="note">
      <h1>{props.title}</h1>
      <p>{props.content}</p>
      <button onClick={handleClick}>DELETE</button>
    </div>
  );
}

export default Note;
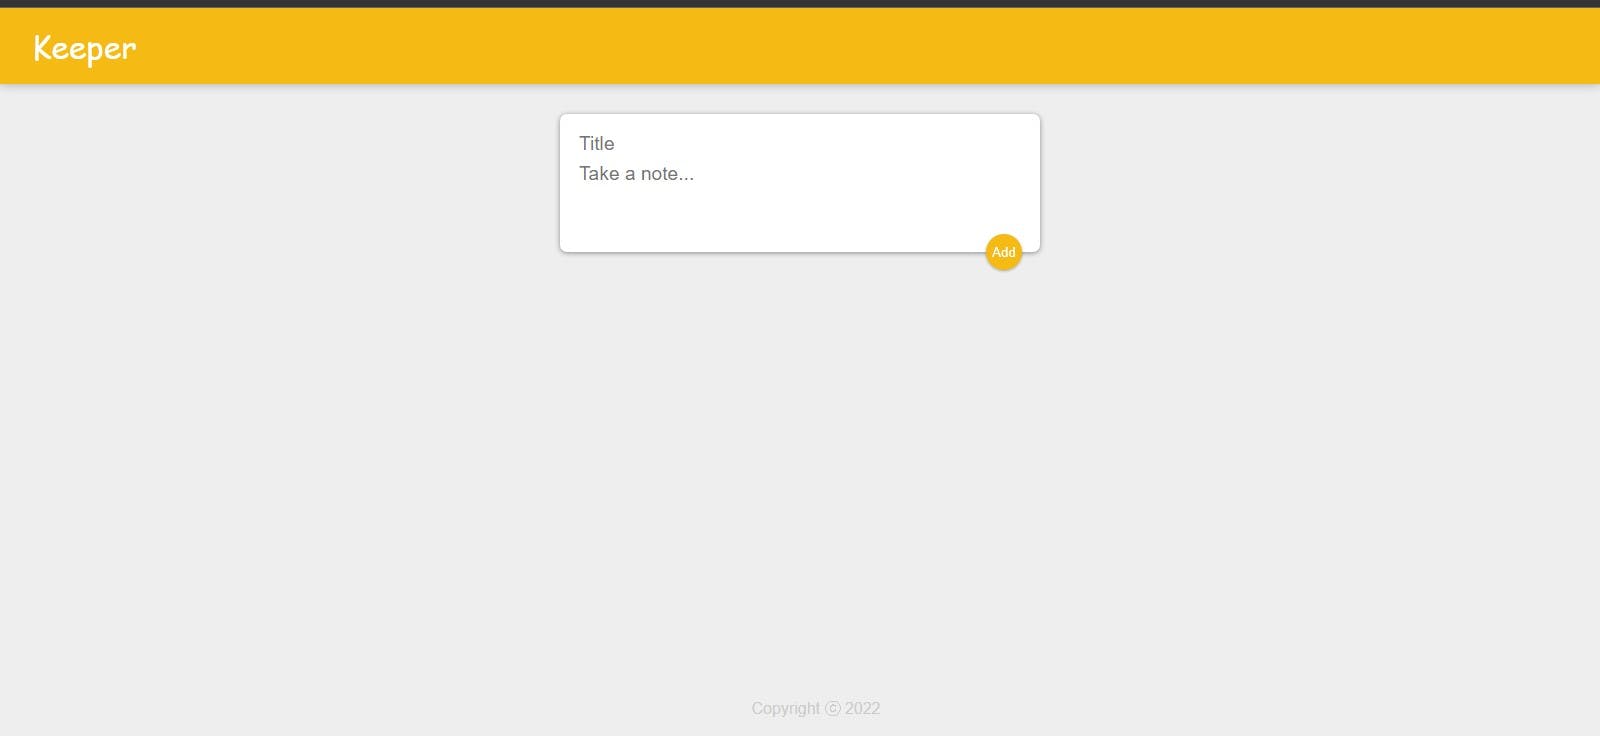
The overall result will look like this:
The cool thing about react's development server is that it automatically saves any changes made on your project and reloads the webpages to reflect the changes made.

Congratulations you made it to the very end. You successfully built your own mini google keep app with react.
Now, let's deploy our project on the internet.
Deploying your react App
First, create an empty git repository on GitHub to host your project
Next, on your terminal, initialize git by running the command below:
Git init
Then, add the changes made, commit the changes, and push them to your repository. Run the following commands.
git add .
git commit -m "first commit"
git branch -M main
git remote add origin https://github.com/{github username}/{repository name}.git
git push -u origin main
Now, let's add the GitHub Pages dependency package. This package allows us to publish build files into a gh-pages branch on GitHub, where they can then be hosted.
Install gh-pages as a dev dependency via npm by running the following command.
npm install gh-pages --save-dev
Adding the deploy scripts Now, let’s configure the package.json file so that we can point our GitHub repository to the location where our React app will be deployed.
We’ll also need to add pre-deploy and deploy scripts to the package.json file. The pre-deploy script is used to bundle the React application while the deploy script deploys the bundled file.
In the package.json file, add a homepage property that follows this structure: https://{github-username}.github.io{repo-name}
Now, let’s add the scripts.
In the package.json file, scroll down to the scripts property and add the following commands:
"predeploy" : "npm run build",
"deploy" : "gh-pages-d build",
Commit the changes and push your code updates to your GitHub repository.
git add .
git commit -m "setup gh-pages"
git push
To deploy the react application, run the command below:
npm run deploy
This command will create a bundled version of our React application and push it to a gh-pages branch in our repository on GitHub.
Now, go to your GitHub repo that houses the project, click on the settings tab and then select the pages option. Click on the link provided to view the project online.
Hurray there you go, you have built your own version of the mini google keep App using react.💡😊💖
Conclusion
In this tutorial article, you have built a mini google Keep app using react js front-end framework. Please feel free to be creative with it and add your own custom features.
Happy coding. 💡👨💻😊